

Janaka Selekta - Piya (DnB Remix) ft. Alam Khan, Shrii, Sheela Bringi

STUCCO - SXSW Award Winning Short

ZEISS Supreme Prime Lenses - Krishna's Quest
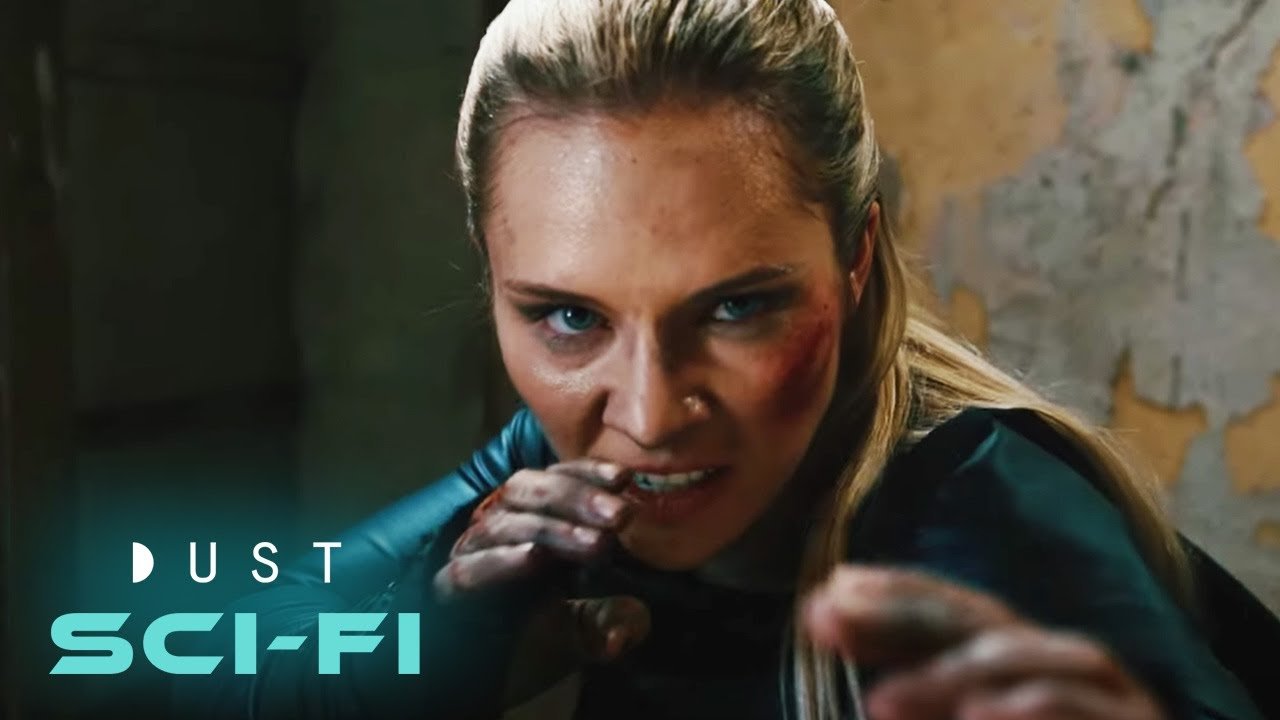
Sci-Fi Short Film "The Gate" | DUST | Throwback Thursday
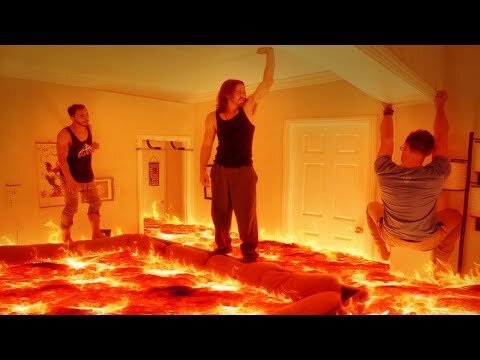
The Floor is Lava
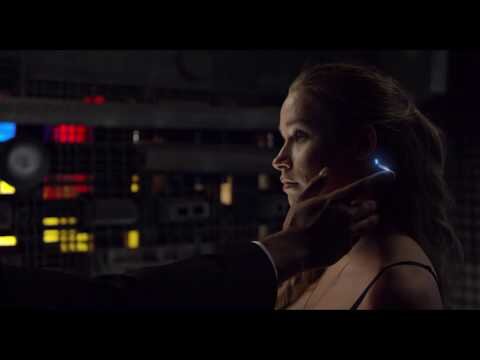
Case 10-86
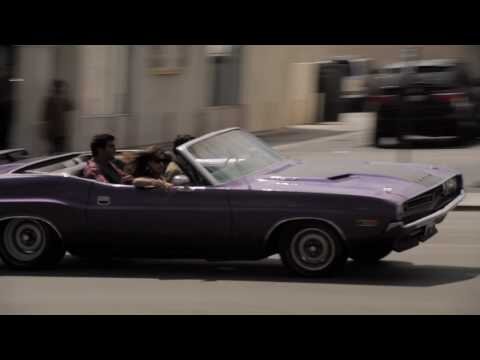
Indian Gangster Trailer

Janaka Selekta - Piya (DnB Remix) ft. Alam Khan, Shrii, Sheela Bringi
STUCCO - SXSW Award Winning ShortWhile hanging a piece of art in her new home, a woman knocks a hole in her wall, revealing what might be another room. Her mind races and unravels as she wonders what could be on the other side. Executive Producer - Snehal Patel of FearlessProductions
ZEISS Supreme Prime Lenses - Krishna's Quest
Sci-Fi Short Film "The Gate" | DUST | Throwback Thursday"The Gate" by Kellie MadisonAs a spiritual war is brewing one woman must fight to save her sister's soul.Associate Producer - Snehal Patel of FearlessProductions.tv
The Floor is LavaExecutive Producer - Snehal of FearlessProductions.tv
Case 10-86
Indian Gangster TrailerWritten and Directed by Fearless (aka Snehal Patel) of FearlessProductions.tv
info
/
1
2
3
4
5
6
7
8
·
·
·
·
·
·
·
·